Are you tired of dealing with flat tires on your mountain bike? The solution might be as simple as adding some sealant to your tires. But how much sealant should you use?
This is an important question to consider, as using too little can leave your tires vulnerable to punctures, and using too much can lead to messy and difficult clean-up.
In this article, we’ll explore the factors to consider when deciding how much sealant to use, as well as the recommended amounts for different types of tires, so you can ride confidently and avoid unnecessary tire trouble.
Sealant is a crucial component of tubeless mountain bike tires, as it helps to seal punctures and prevent air loss. However, many riders must determine how much sealant to add to their tires. The sealant needed can vary depending on the tire size, riding conditions, and personal preference.
Finding the right balance of sealant is important to ensure that your tires stay protected without causing any issues. So, whether you’re a seasoned rider or just starting, read on to learn how to seal your mountain bike tires properly.
Table of contents
Contents
Understanding the Importance of Sealant for Mountain Bike Tires
You can’t afford to neglect the significance of using the right sealant in your mountain bike tires to avoid potential disasters on the trails.
Having the right amount of sealant in your tires can give you a lot of advantages, such as preventing punctures and flat tires. Moreover, it can also improve your bike’s overall performance, giving you better grip and control.
On the other hand, not using enough sealant can lead to several disadvantages. For example, it can make your tires susceptible to punctures or flats. Furthermore, it can also reduce the sealant’s effectiveness, making it less useful in repairing punctures or leaks.
To make sure that you’re getting the most out of your sealant, it’s important to use the right amount. The ideal amount of sealant for mountain bike tires is around 2-3 ounces per tire. However, this can vary depending on the size of your tires and the intended use.
In the next section, we’ll discuss how the sealant works and why using the right amount is important.
How Sealant Works
When it comes to sealant, there are two main types: latex-based and synthetic. Latex-based sealant is the most common and is made from natural rubber. On the other hand, the synthetic sealant is made from chemicals and is less messy.
Applying sealant to your mountain bike tire is a straightforward process involving removing the valve core, injecting sealant, and re-inflating the tire. The amount of sealant needed varies depending on the size of your tire, but a good rule of thumb is 2-3 ounces for a standard mountain bike tire.
Types of Sealant
You’ll be amazed at the variety of sealant types available for your trusty mountain bike, each promising to keep your rides puncture-free and smooth as butter.
The most common sealant types are latex-based, a liquid that dries into a flexible rubber-like substance.
These sealants are known for their effectiveness in sealing punctures up to 6mm in diameter. They are also biodegradable, making them environmentally friendly. However, they tend to dry out quickly and may require frequent reapplication.
Another popular sealant type is the ammonia-based sealant, which is composed of a thick gel-like substance that doesn’t dry out as quickly as latex-based sealants.
They are effective in sealing punctures up to 10mm in diameter and have a longer lifespan than their latex-based counterparts. The downside to ammonia-based sealants is that they are not environmentally friendly and may corrode the tires’ inner lining.
Some popular brands of sealants are Stan’s NoTubes, Slime, and Orange Seal.
Application Process
Applying sealant to your trusty ride can be messy, but it’s essential for keeping your wheels rolling smoothly and puncture-free. There are a few things to keep in mind to ensure proper sealant application.
First, remove any existing sealant and debris from your tire before applying a new coat. This will help the new sealant adhere better and prevent clumping or clogging. Additionally, shake the sealant bottle well before pouring it into the tire to ensure even distribution.
Common mistakes to avoid during the application process include overfilling the tire with sealant, not shaking the bottle enough, and needing to clean the tire beforehand properly.
Overfilling the tire can cause it to become unbalanced and affect your ride quality, while not shaking the bottle enough may result in clumps of sealant that can clog the valve stem.
Preparing and applying a sealant to your tires properly can save you time and money in the long run, so don’t rush the process! When deciding how much sealant to use for your mountain bike tires, there are a few factors to consider.
Factors such as your tire size, the type of terrain you’ll be riding on, and the weather conditions can all affect how much sealant you’ll need. In the next section, we’ll explore these factors in more detail and give you some tips for determining the optimal amount of sealant for your specific riding needs.
See also: How Much Air Mountain Bike Tires?
Factors to Consider When Deciding How many sealants to Use
When deciding how much sealant to use for your mountain bike tires, there are a few factors you need to consider.
Firstly, the size of your tires will affect how much sealant you need. Larger tires may require more sealant to cover the surface area and seal any punctures fully.
Secondly, the riding terrain you usually encounter will also play a role in determining how much sealant to use. If you frequently ride on rocky or rough terrain, use more sealant to protect against punctures.
Lastly, personal preferences can also come into play. If you want to minimize your bike’s weight, you may choose to use less sealant. On the other hand, if you value protection and durability over weight, you may opt to use more sealant.
Tire Size
The size of your knobby steeds’ rubber doughnuts can make a big difference in your ride experience. When it comes to mountain bike tire sizes, you’ll want to consider the following factors before deciding how much sealant to use:
- Width: The wider the tire, the more sealant you need. This is because wider tires have more surface area and are more prone to punctures.
- Volume: Tire volume is determined by both width and height. The larger the volume, the more sealant you’ll need to ensure adequate coverage.
- Rim width: The width of your rim can affect the sealant you’ll need. Wider rims require more sealant since they offer a larger tire footprint.
It’s important to note that tire pressure recommendations may also vary based on tire size. Check the manufacturer’s recommendations and adjust accordingly to ensure optimal trail performance and safety.
Now that you better understand how tire size impacts sealant usage, let’s move on to the next factor to consider: riding terrain.
Riding Terrain
To optimize your riding experience, you’ll want to consider the type of terrain you’ll be tackling, as it can greatly affect the performance of your trusty steed.
A thicker sealant may be necessary for rocky trails to prevent punctures from sharp rocks. On the other hand, a thinner sealant may suffice for muddy routes, as it can flow more easily through the mud and seal any punctures.
It’s important to note that the amount of sealant you use should also be determined by the severity of the terrain. For example, if you’re tackling extremely rocky trails or frequent areas with sharp debris, you may want to use more sealant to ensure maximum protection.
However, a smaller amount of sealant may be sufficient if you’re mostly riding on smoother terrain. Ultimately, it comes down to personal preference and the conditions you’ll face on your rides.
Personal Preferences
Finding the right sealant for your riding terrain is like finding the perfect seasoning for your favorite dish – it’s all about personal preferences.
There are many preferred brands, but ultimately it comes down to what works best for you. Some riders prefer thicker sealants that can handle more punctures, while others prefer lighter sealants that won’t add too much weight to their tires.
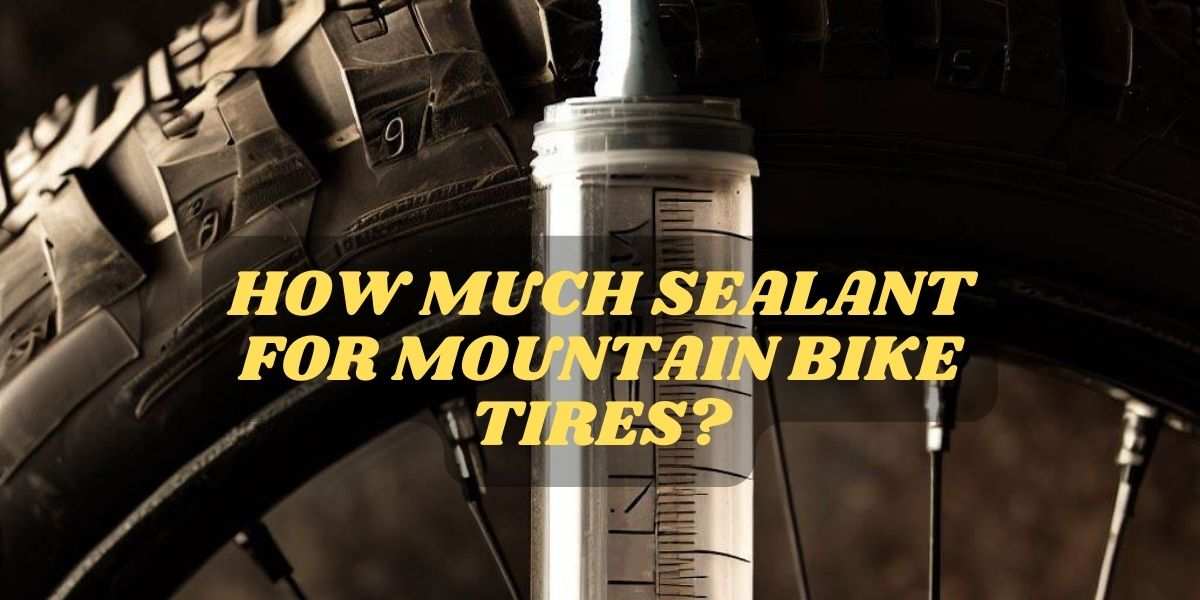
Additionally, application techniques can vary. Some riders prefer to use a syringe to inject the sealant directly into the tire; others prefer to pour it in and then spin it to distribute it evenly.
When it comes to personal preferences, the best thing you can do is experiment with different brands and application techniques. Try out several sealants to see which feels best for your riding style and terrain.
Remember that different sealants may also have different lifespans, so keep an eye on your tires and reapply as needed.
Once you find the right sealant, you’ll be confident to tackle any terrain without worrying about punctures or flats.
As you explore the world of sealants, it’s important to consider the recommended amounts of sealant for different types of tires.
In the next section, we’ll examine how much sealant you should be using for different tire sizes and types.
Recommended Amounts of Sealant for Different Types of Tires
Tubeless tires require a higher amount of sealant compared to tubeless-ready tires. The recommended amount of sealant for mountain bike tubeless tires ranges from 2 to 4 ounces depending on the tire size, while tubeless-ready tires require around 1 to 2 ounces.
It’s important to follow the manufacturer’s recommendations for the appropriate amount of sealant to avoid any issues with tire performance.
Tubeless Tires
You’ll want to seal your tubeless mountain bike tires properly to avoid any flats while on the trail. The advantages of tubeless tires over traditional tires are numerous.
For one, they reduce the risk of pinch flats and punctures. In addition, they offer a smoother ride and better traction due to the ability to run lower tire pressure. This means that you can tackle more technical terrain with ease.
However, there are also some disadvantages to tubeless tires. They can be more difficult to install and maintain and often require a sealant to prevent air leaks. In addition, tubeless tires can be more expensive than traditional tires and may require a special rim and/or valve stem.
Despite this, many riders find that the benefits of tubeless tires outweigh the drawbacks and opt for this type of tire for their mountain bike.
When considering tubeless tires, it’s important to understand the differences and similarities between them and tubeless-ready tires.
Tubeless-ready tires are designed to be used with a tubeless setup, whereas tubeless tires are designed specifically for tubeless use. Tubeless-ready tires can be used with a tube until you can switch to tubeless, while tubeless tires cannot.
Understanding the nuances between these two options can help you decide when to select the right tire for your needs.
Tubeless-Ready Tires
If you’re looking for a tire that offers the benefits of tubeless but with the convenience of using a tube if needed, tubeless-ready tires may be the perfect option.
These tires have an airtight bead and sidewall that allows you to run them tubeless but also have a standard clincher bead that can accommodate a tube.
Some advantages of tubeless-ready tires include a reduced risk of punctures and pinch flats, a smoother ride due to the ability to run lower tire pressure, and better traction and control on rough terrain. However, there are also some disadvantages to consider.
Tubeless-ready tires can be more expensive than standard clincher tires, and setting them up tubeless can be more complicated and time-consuming. Additionally, if you experience a puncture that cannot be sealed with a sealant, it can be more difficult to install a tube due to the tight fit of the tire on the rim.
If you value the benefits of tubeless but want to use a tube if needed, tubeless-ready tires are a great choice. To ensure you get the most out of your tubeless-ready tires, it’s important to maintain the sealant properly.
Tips for Maintaining Your Tire Sealant
To keep your tires in top shape, it’s important to regularly maintain the sealant you use to prevent punctures and leaks. One way to do this is by keeping an eye on the sealant’s longevity.
Generally, tire sealant lasts around 6 months, but this can vary depending on factors such as temperature and humidity. Check your sealant every few weeks to ensure it hasn’t dried out or become too thick. If it has, it’s time to add more or replace it entirely.
Choosing the right sealant brand is also crucial to maintaining your tire sealant. Some brands may work better with certain tire types or climates. Do your research and read reviews before purchasing a sealant.
Look for one that is easy to install and can effectively seal punctures to a certain size. Choosing a brand that won’t clog your valve or tire with excess sealant is also important.
In addition to regularly checking your sealant and choosing the right brand, it’s also important to shake and rotate your tires frequently to ensure the sealant is evenly distributed throughout the tire.
This will prevent clumps from forming and keep your tire sealant working effectively. By following these tips, you can maintain your tire sealant and prevent unwanted punctures and leaks while on the trails.
See also: What Are Mountain Bikes?
Conclusion 💭
Congratulations! You better understand how much sealant to use for your mountain bike tires.
Remember that sealant is crucial in preventing punctures and maintaining tire pressure. Knowing the factors affecting sealant effectiveness allows you to determine the appropriate amount for your tire type.
It’s always best to err on caution and use slightly more sealant than recommended, as this can improve the sealant’s ability to fill larger punctures.
Don’t forget to regularly check and maintain your tire sealant to ensure maximum performance. By following these tips, you can enjoy a smoother and safer ride on your mountain bike.
Happy riding!


Leave a Reply